About us
Gecai Culture stands at the forefront of bringing the past to life through our state-of-the-art Animatronic Dinosaurs, enchanting Animatronic Creatures, vibrant Chinese Festival Lanterns, and tailored Custom Products. As a professional manufacturer nestled in the heart of China, we harbor a deep-seated passion for showcasing our lifelike dinos and animals in museums, exhibitions, zoos, parks, and beyond, aiming to kindle a flame of curiosity and learning in people of all ages.
Get a free quote
Company News
How Are Animatronic Dinosaurs Installed? A Site Preparation and Assembly Guide
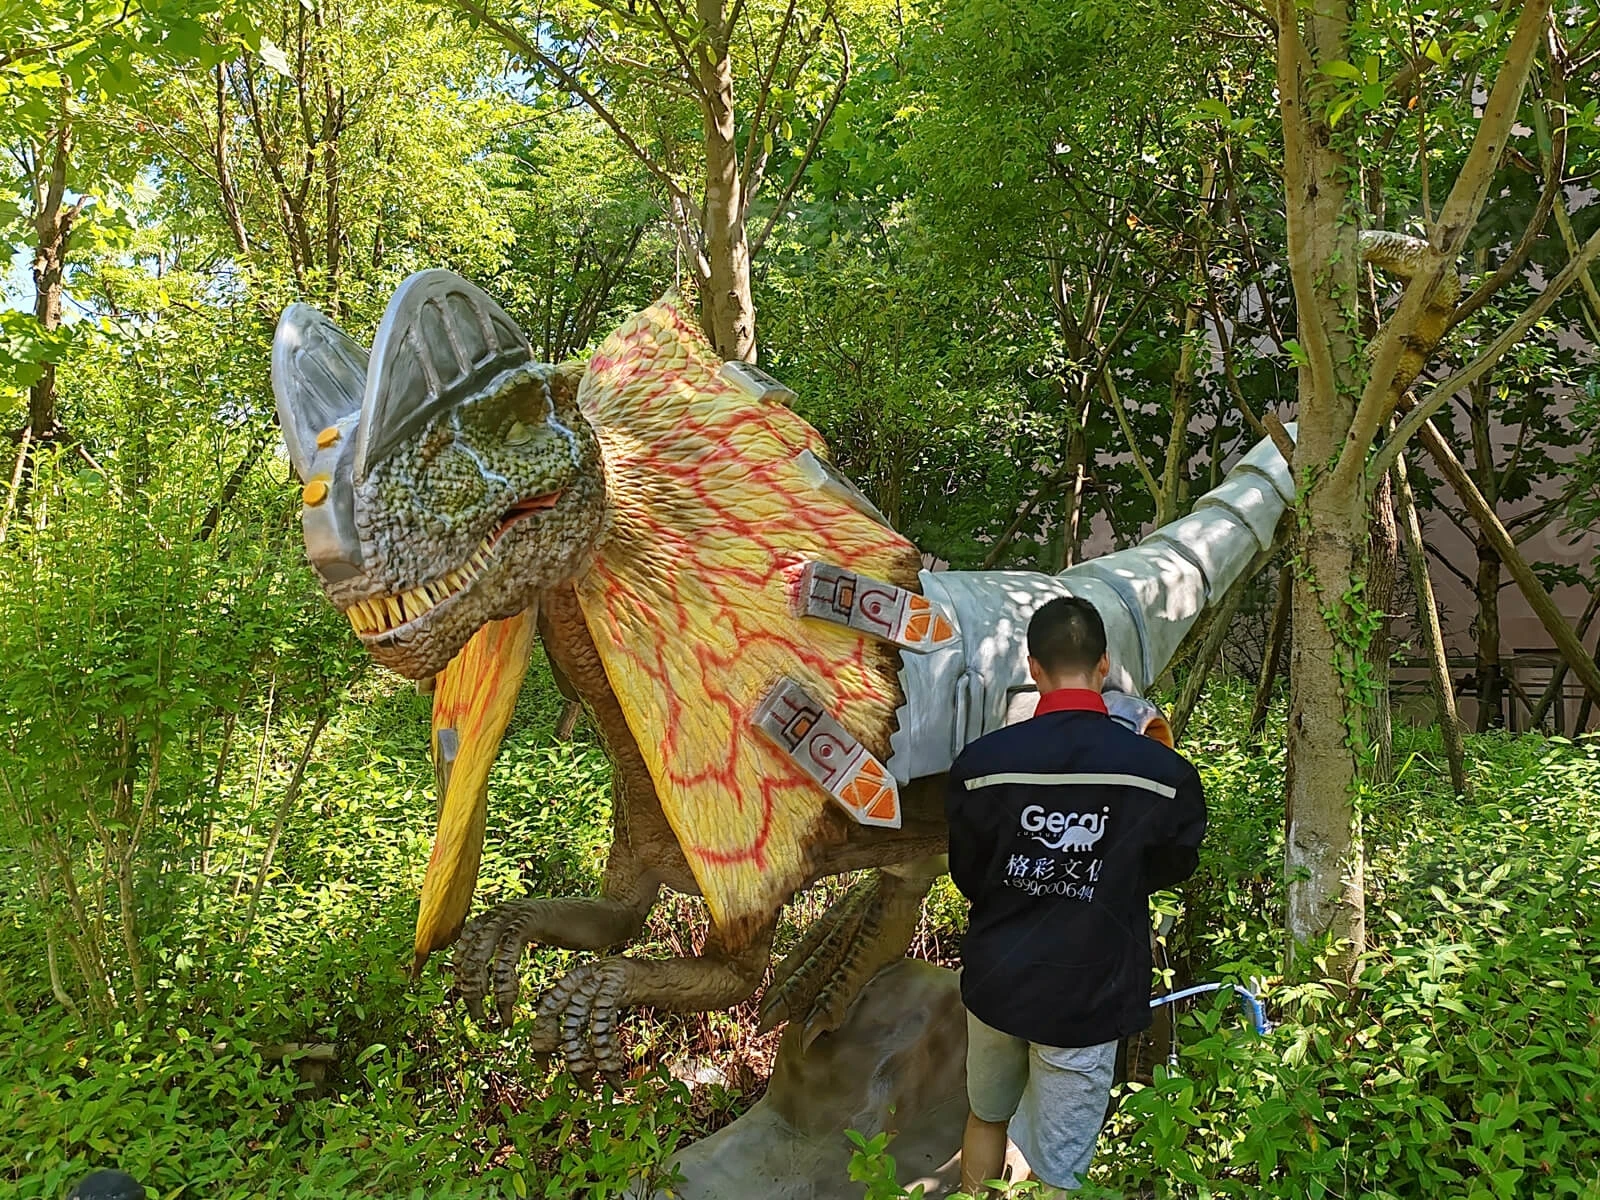
Animatronic dinosaur installation involves more than placing the model at a venue and connecting it to a power supply. Large dinosaurs are usually divided into several sections for transportation. These sections must be lifted, mechanically connected, internally wired, fixed to the foundation and tested on site.
A successful installation depends on advance site preparation, suitable lifting equipment and clear guidance from the manufacturer. The exact procedure varies according to the dinosaur’s size, posture, movement system and installation environment.
What Should Be Prepared Before Installation?
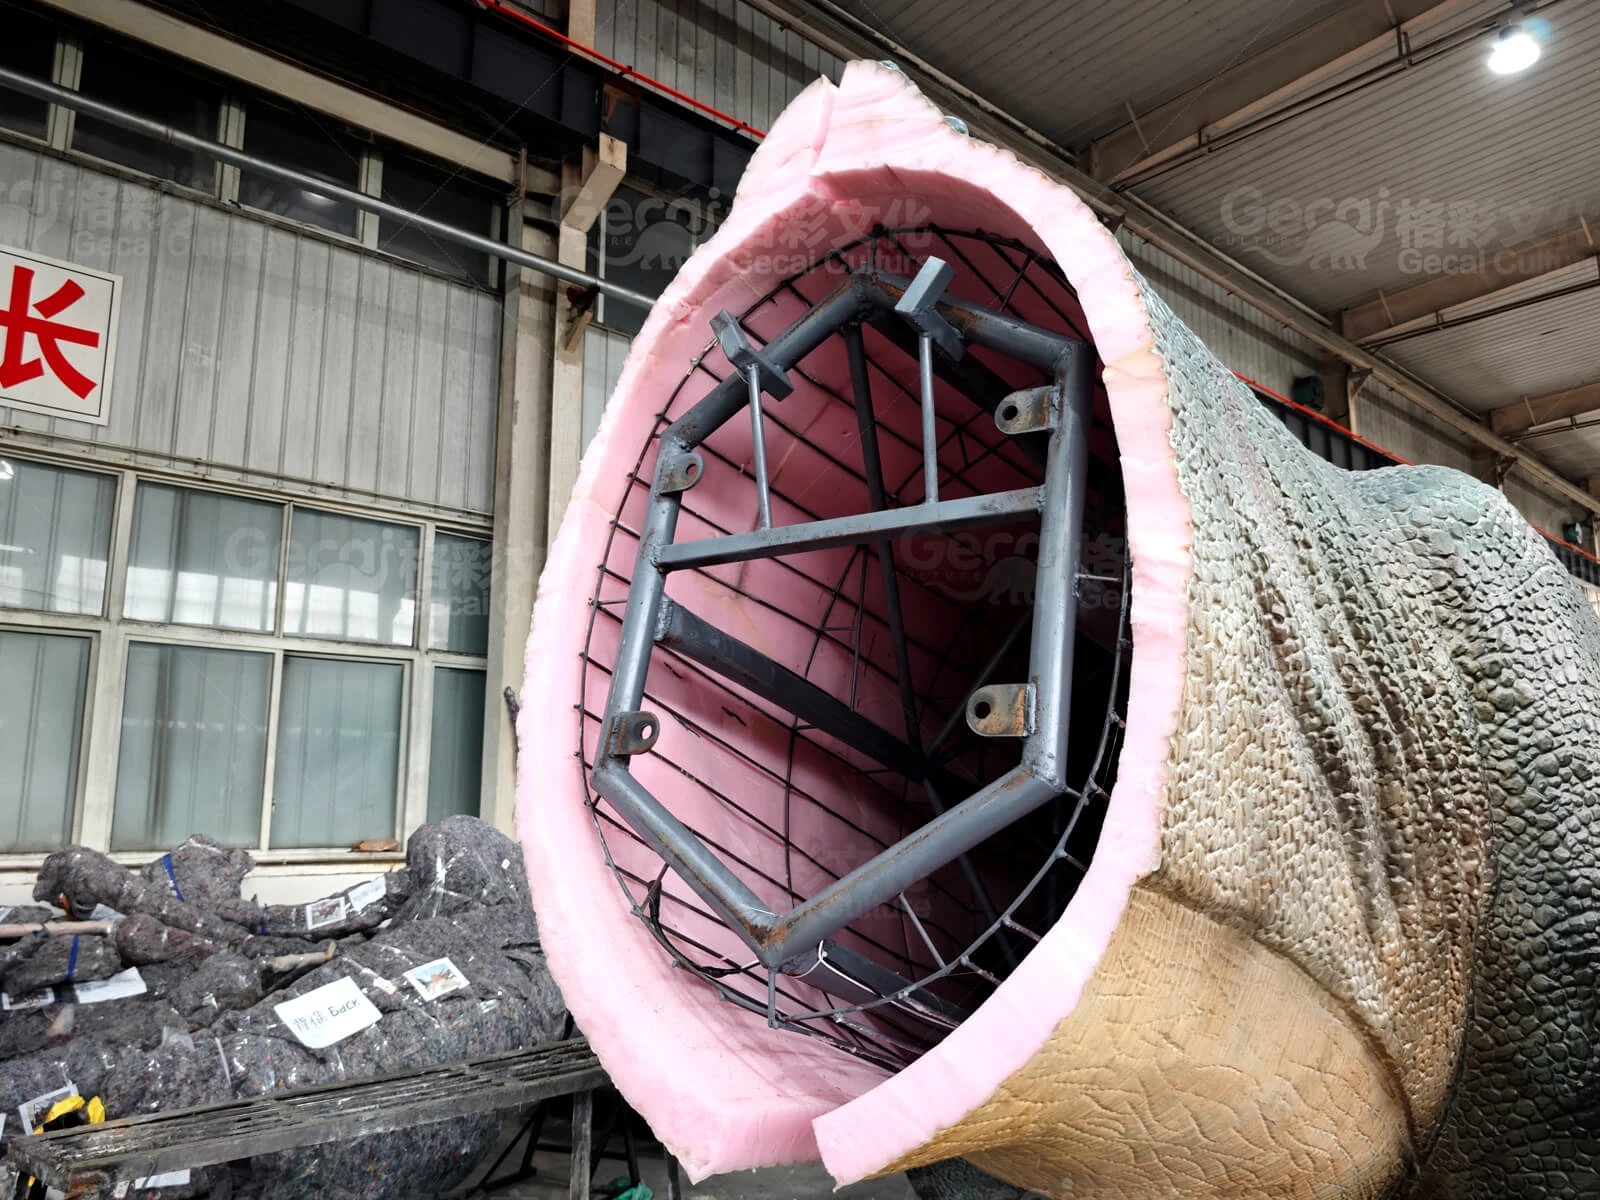
Before the dinosaur arrives, the buyer should confirm that the installation area is ready for unloading, assembly and testing.
The main site requirements include:
| Item | What to Confirm |
|---|---|
| Installation space | Dinosaur dimensions, movement range and visitor clearance |
| Ground conditions | Level, stable surface suitable for the model |
| Foundation | Concrete base or other fixing method required by the design |
| Power supply | Correct voltage, plug type and cable route |
| Drainage | No standing water around the dinosaur or control equipment |
| Lifting access | Sufficient space for a crane, forklift or lifting frame |
| Maintenance access | Space for future inspection and repair |
Outdoor locations also need to consider rainfall, wind exposure, soil conditions and electrical protection. More details are available in our outdoor animatronic dinosaur installation guide.
How Are Large Animatronic Dinosaurs Assembled?
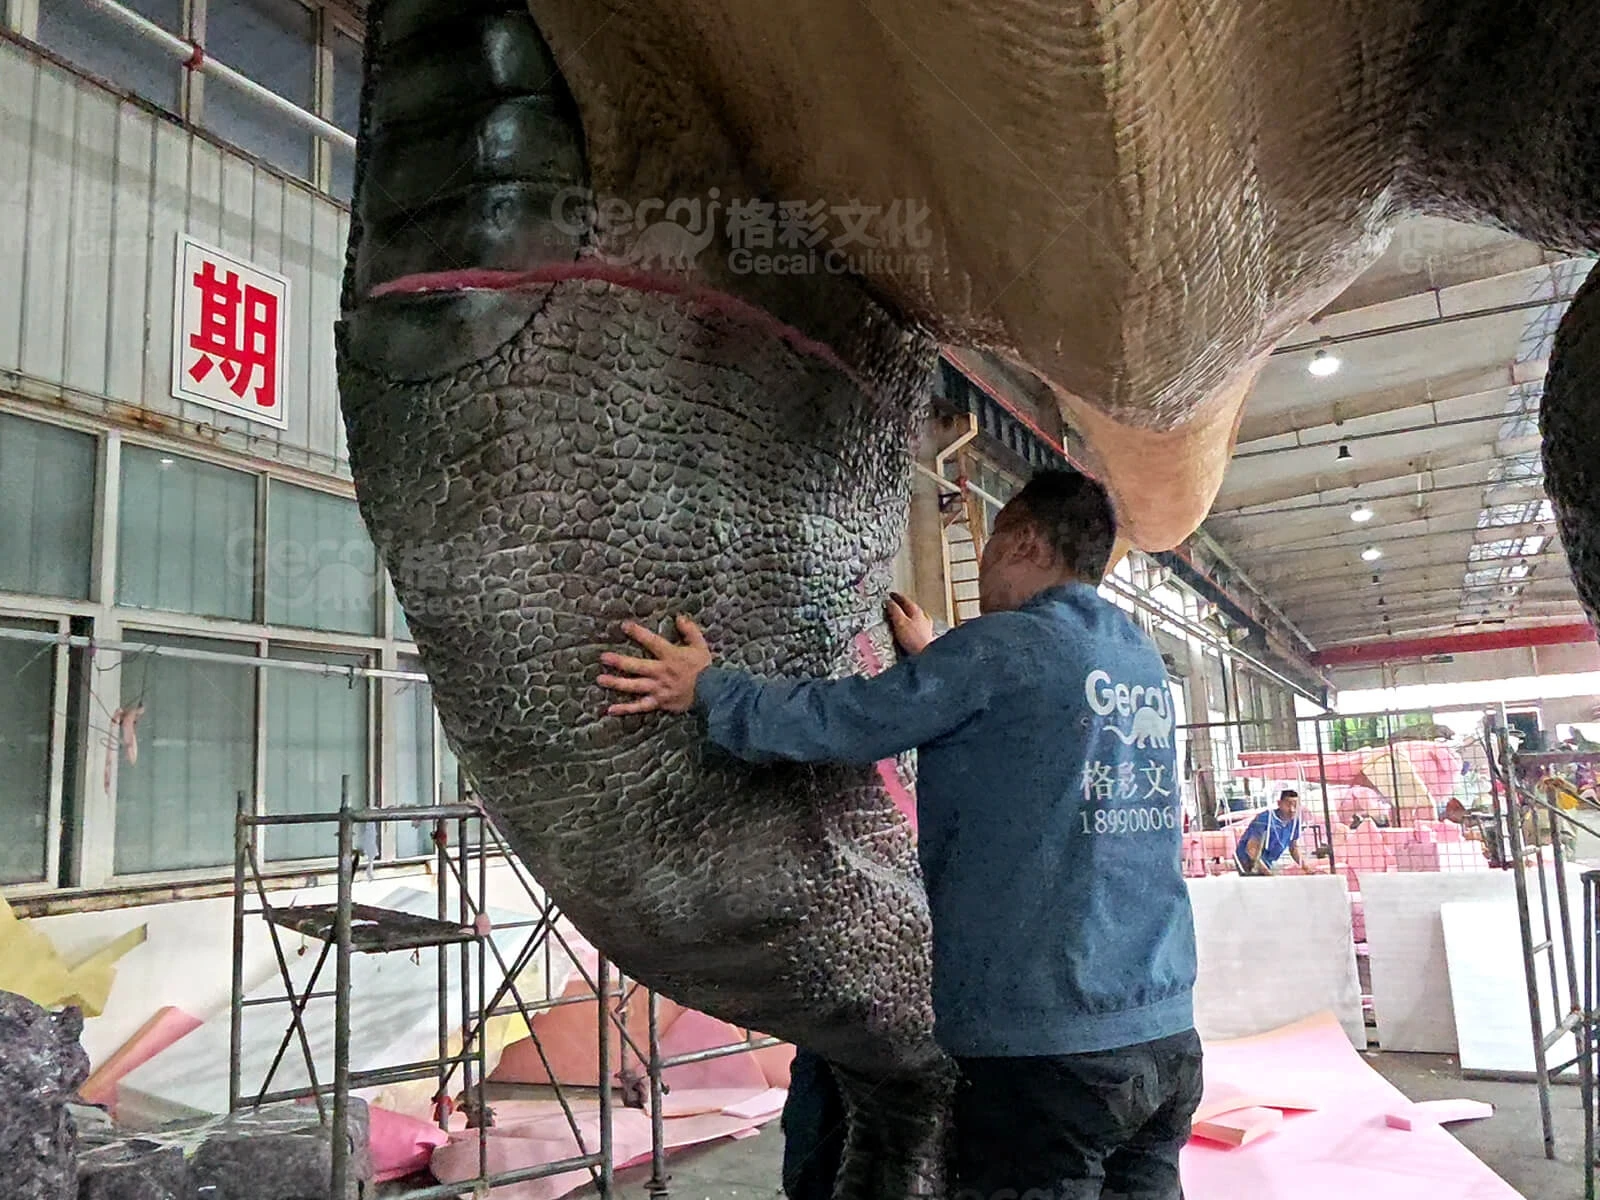
Large animatronic dinosaurs are commonly shipped with the body, legs, tail, neck or head separated. A typical installation sequence is described below, although the manufacturer’s drawings and instructions should always take priority.
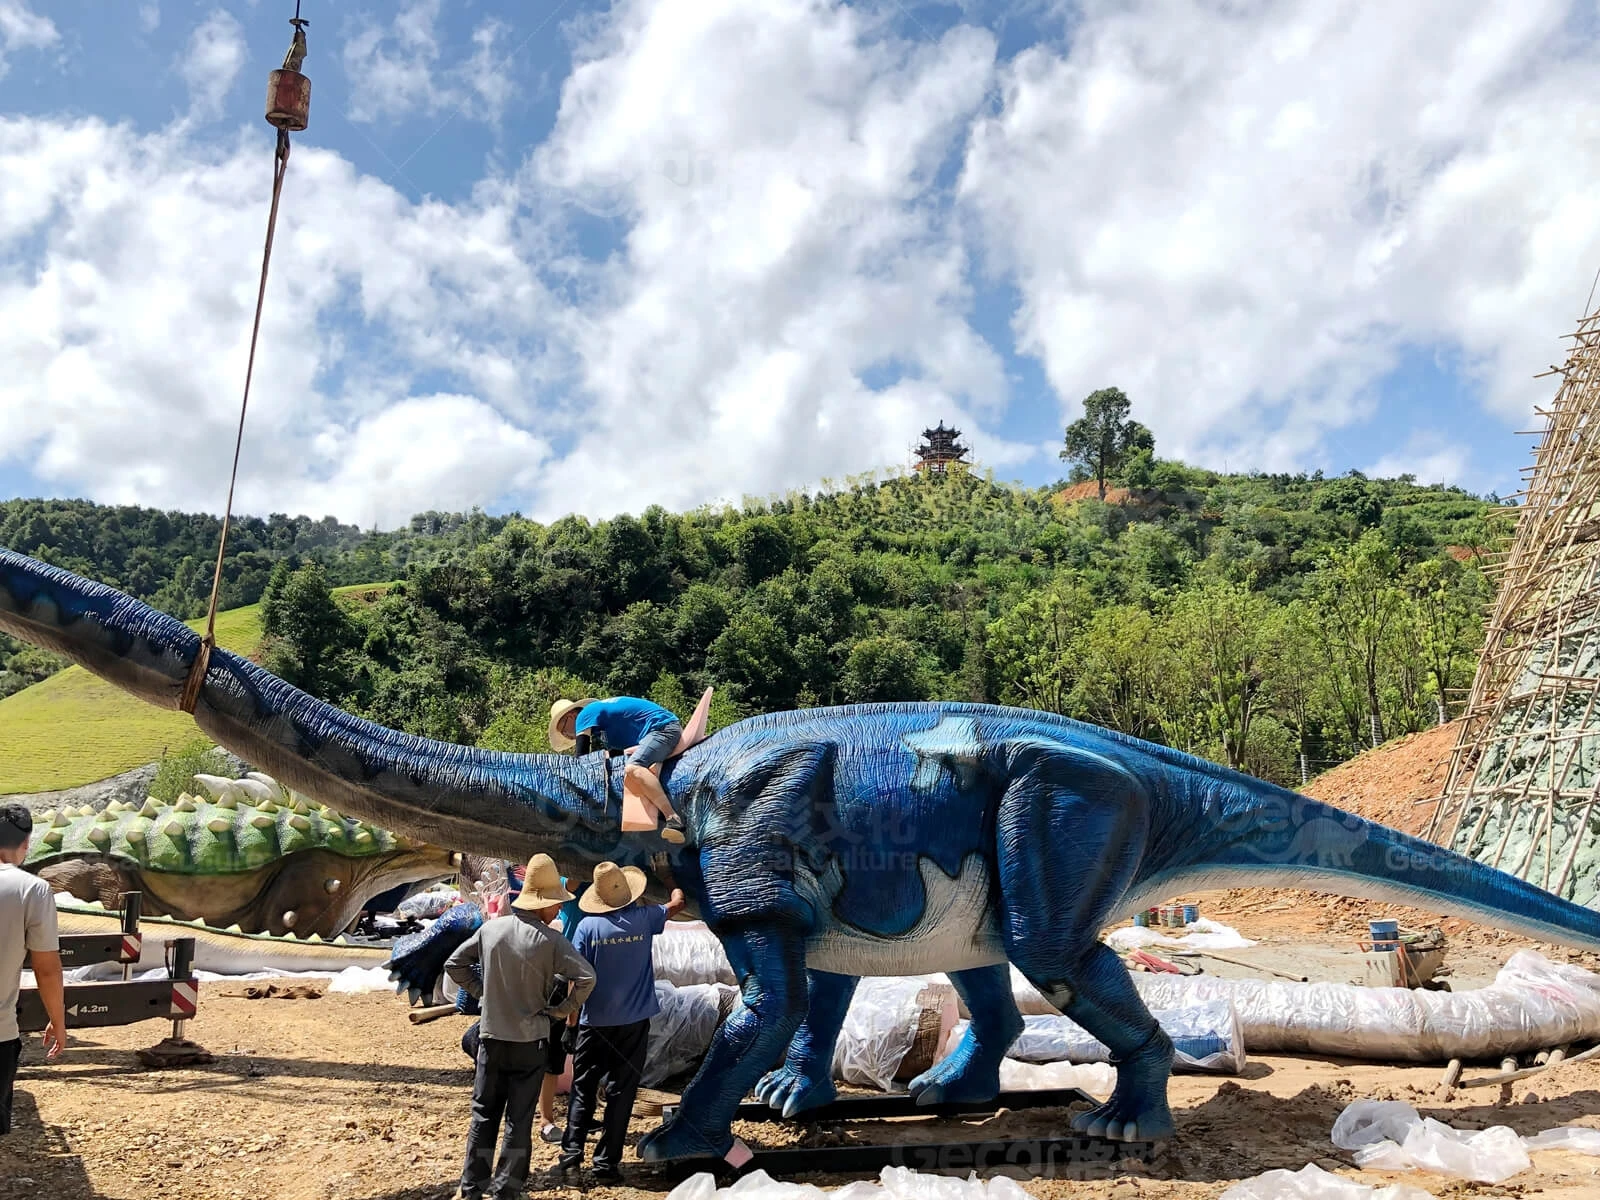
The lifting and connection process can also be viewed in this animatronic dinosaur installation video.
Step 1: Inspect All Components
After unloading, check the body, legs, tail, neck, head, base, control box, cables and accessories against the packing list.
Inspect the surface for transport damage and confirm that the labeled connecting points match the installation instructions. Keep the equipment disconnected from the main power supply during assembly.
Step 2: Position the Tail and Other Large Sections
For some large dinosaurs, the tail can be installed or prepared while it is still close to the ground. This reduces difficult work at height and makes it easier to align the internal steel connection.
Use suitable lifting straps and protect the painted surface from direct contact with chains, hooks or sharp tools.
Step 3: Lift and Align the Main Body
Use a crane or other suitable lifting equipment to raise the main body. The lifting points and equipment capacity must match the dinosaur’s weight and structure.
Guide the body slowly into position above the legs or base. Workers should keep their hands away from steel flanges and other possible pinch points during alignment.
Step 4: Secure the Structural Connections
Align the steel flanges and insert the specified bolts before removing the lifting support. Tighten the bolts evenly and confirm that the body is stable.
Depending on the model, the legs, torso, tail, neck and head may use different connection structures. Do not replace the supplied fasteners with unconfirmed parts.
Step 5: Connect Internal Power and Control Cables During Assembly
Internal cables must be connected while the separated sections are being joined. These connections are mainly located inside the torso and neck, although other connection points may be used depending on the model.
Before closing each structural joint, technicians should:
Match the labeled power and control connectors
Confirm that every connector is firmly secured
Check the direction and routing of each cable
Keep cables away from bolts, steel flanges and moving mechanisms
Prevent cables from being pinched, twisted or stretched
Leave sufficient cable allowance for the dinosaur’s movements
The main power supply must remain disconnected during this work. All internal cables should be checked before the joint is covered with foam or skin.
Step 6: Install the Neck, Head and Remaining Sections
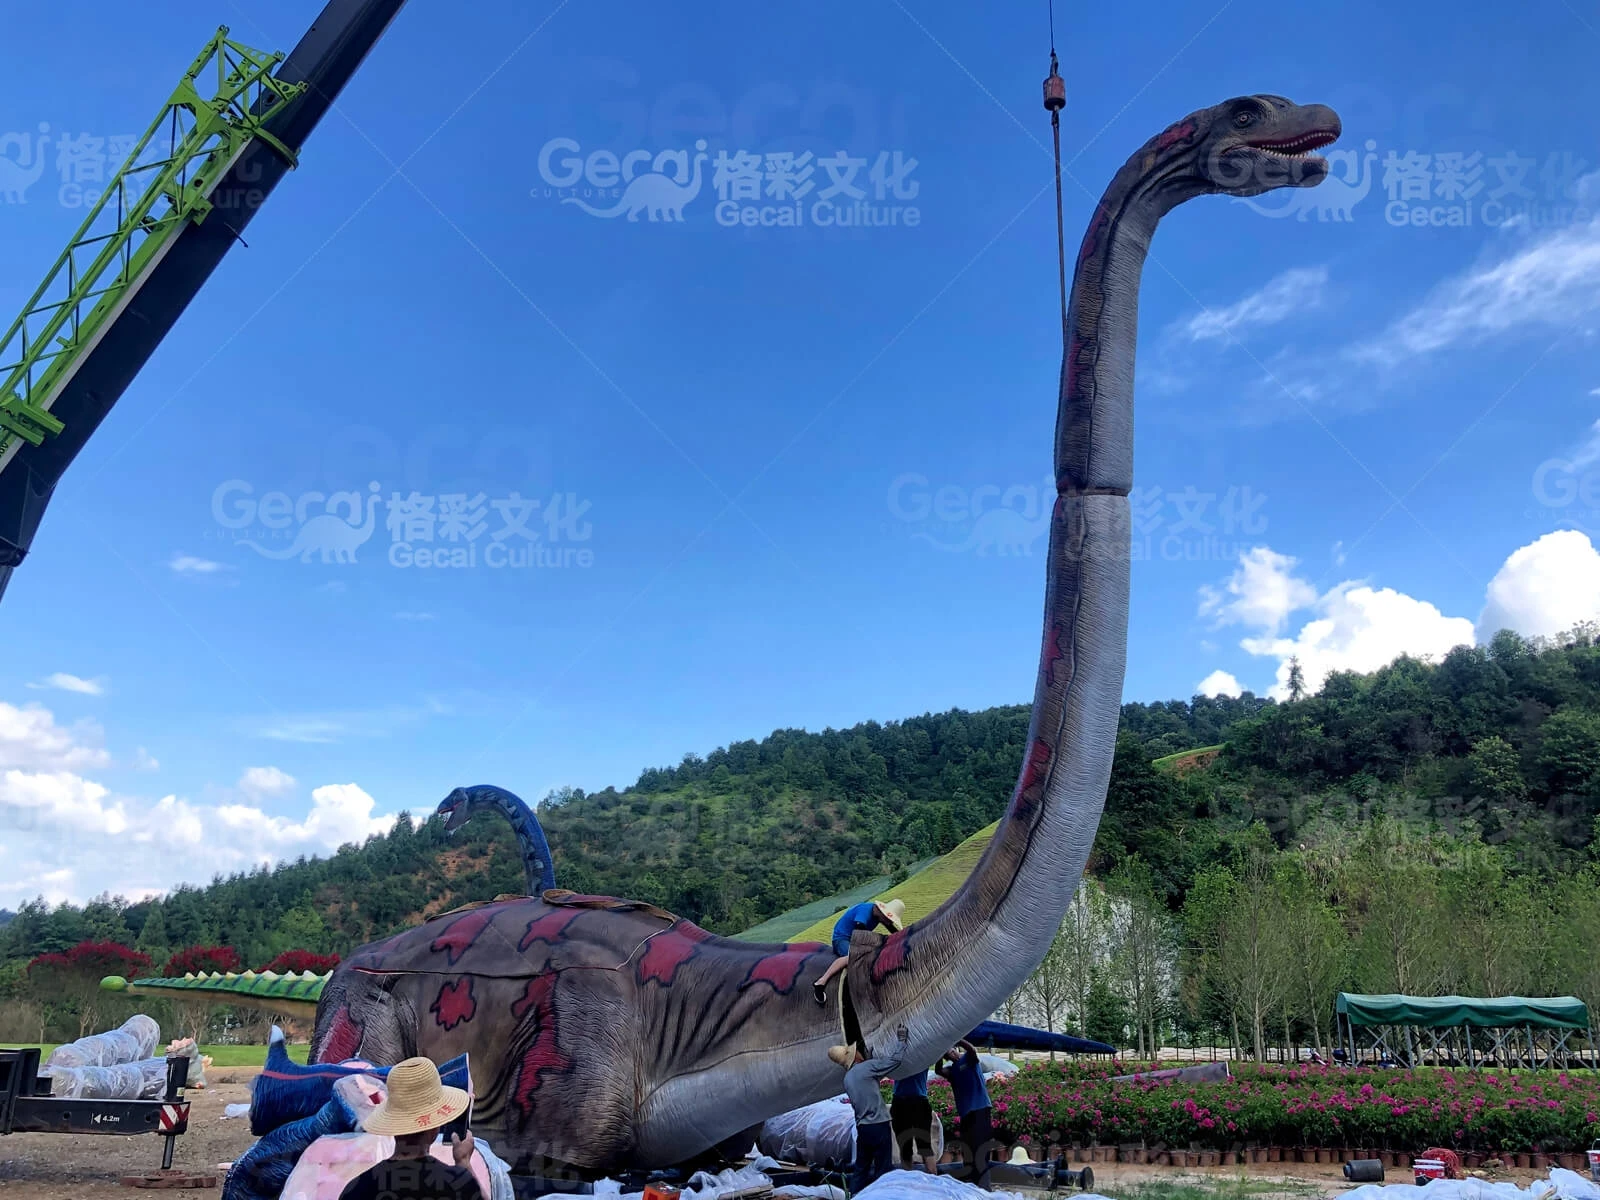
Lift and align the neck or head according to the installation markings. Connect the internal steel structure and the corresponding electrical cables at the same time.
Before closing the neck-to-torso connection, confirm that no cable is trapped between the steel parts. Incorrect cable positioning may damage the wiring when the bolts are tightened or when the dinosaur begins moving.
Step 7: Restore the Foam and Skin
After the mechanical and electrical connections have been confirmed, restore the foam around the joints and glue the flexible skin back into position.
The repaired seams should follow the dinosaur’s original texture and shape. Touch-up paint can then be applied to make the connection less visible.
Surface repair should be completed in dry conditions. Rain or excessive moisture may affect the adhesive, coating and final appearance.
Step 8: Connect the External Control System
Install the control box, sensors, speakers and external cables in their planned positions. Outdoor control equipment should be kept above ground and away from areas where water may collect.
Check that all cables are protected from visitors, vehicles, maintenance equipment and moving dinosaur parts.
Step 9: Fix the Base and Check Stability
Secure the dinosaur to the prepared foundation using the specified anchoring method. Confirm that the base is level and that all fixing points are tight.
Large dinosaurs, raised postures and long-necked models may require additional consideration for wind loads and structural stability.
Step 10: Complete the Power-On Test
Only connect the main power after the structure, internal wiring, surface joints and control system have been fully inspected.
Run the dinosaur through a complete movement cycle and check:
Head, neck, mouth, body and tail movements
Movement direction and range
Unusual noise or vibration
Cable tension during movement
Sound, lighting, sensors and special effects
Base stability
Emergency-stop function
If the dinosaur makes abnormal movements or noises, disconnect the power and inspect it before testing again.
Who Should Install an Animatronic Dinosaur?
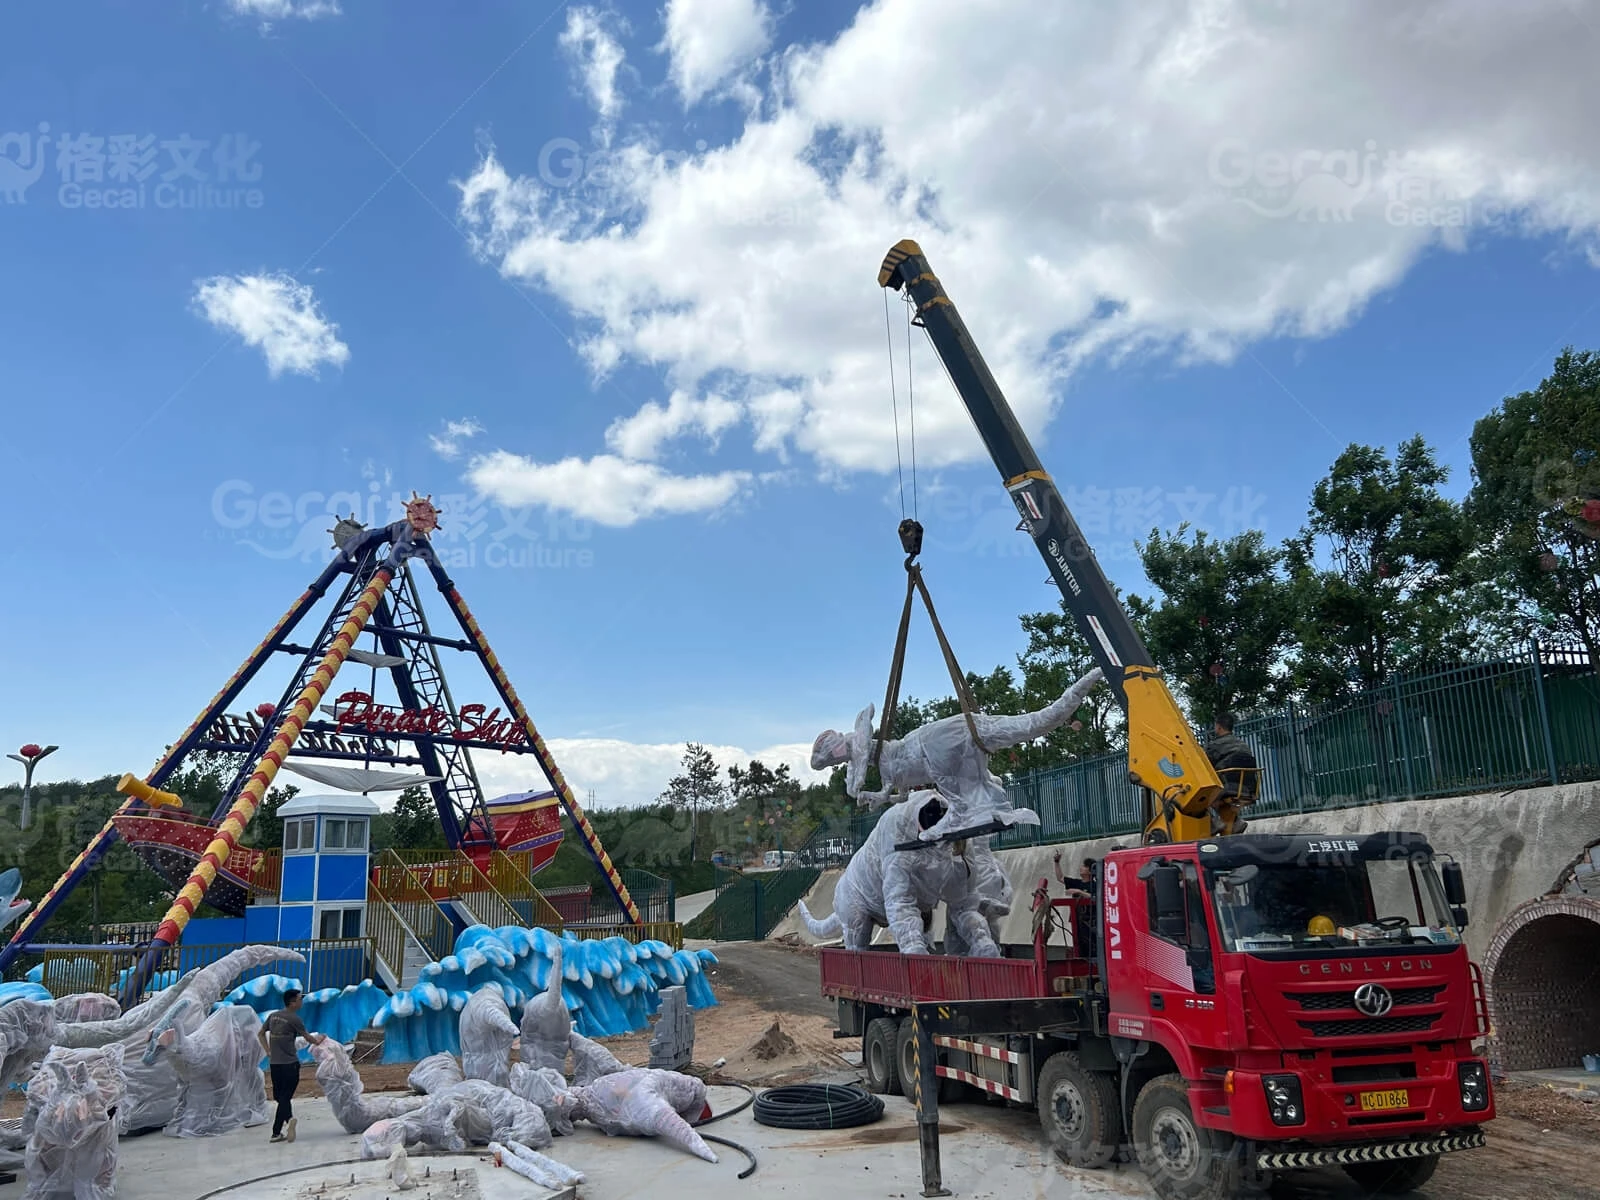
Small or simple models may be installed by trained venue staff using the manufacturer’s instructions. Large dinosaurs or models with complex movements usually require experienced technicians, lifting equipment and coordinated electrical work.
Gecai Culture can provide installation drawings, cable labels, video guidance and remote technical support. On-site installation support can also be discussed according to the project size, destination and schedule.
What Should Be Checked After Installation?
After installation, the operator should keep the site clean and regularly inspect the base, cables, surface, joints and moving parts.
A basic inspection should also be completed before daily operation. For longer-term care, see our animatronic dinosaur maintenance guide.
Frequently Asked Questions
Are animatronic dinosaurs shipped fully assembled?
Small models may be shipped complete, but large dinosaurs are normally divided into sections to reduce packing volume and make international transportation more practical.
When should the internal power cables be connected?
Internal power and control cables should be connected while the torso, neck, head or other sections are being assembled. The connections must be checked before the foam and skin are restored.
Can the dinosaur be tested before surface repair?
A limited connection check may be performed by qualified technicians, but the complete operating test should take place after the structure, wiring, base and external control system are properly installed.
Is a crane always required?
Not always. The equipment depends on the dinosaur’s dimensions, weight and installation conditions. Large models normally require a crane, forklift or other suitable lifting system.
Conclusion
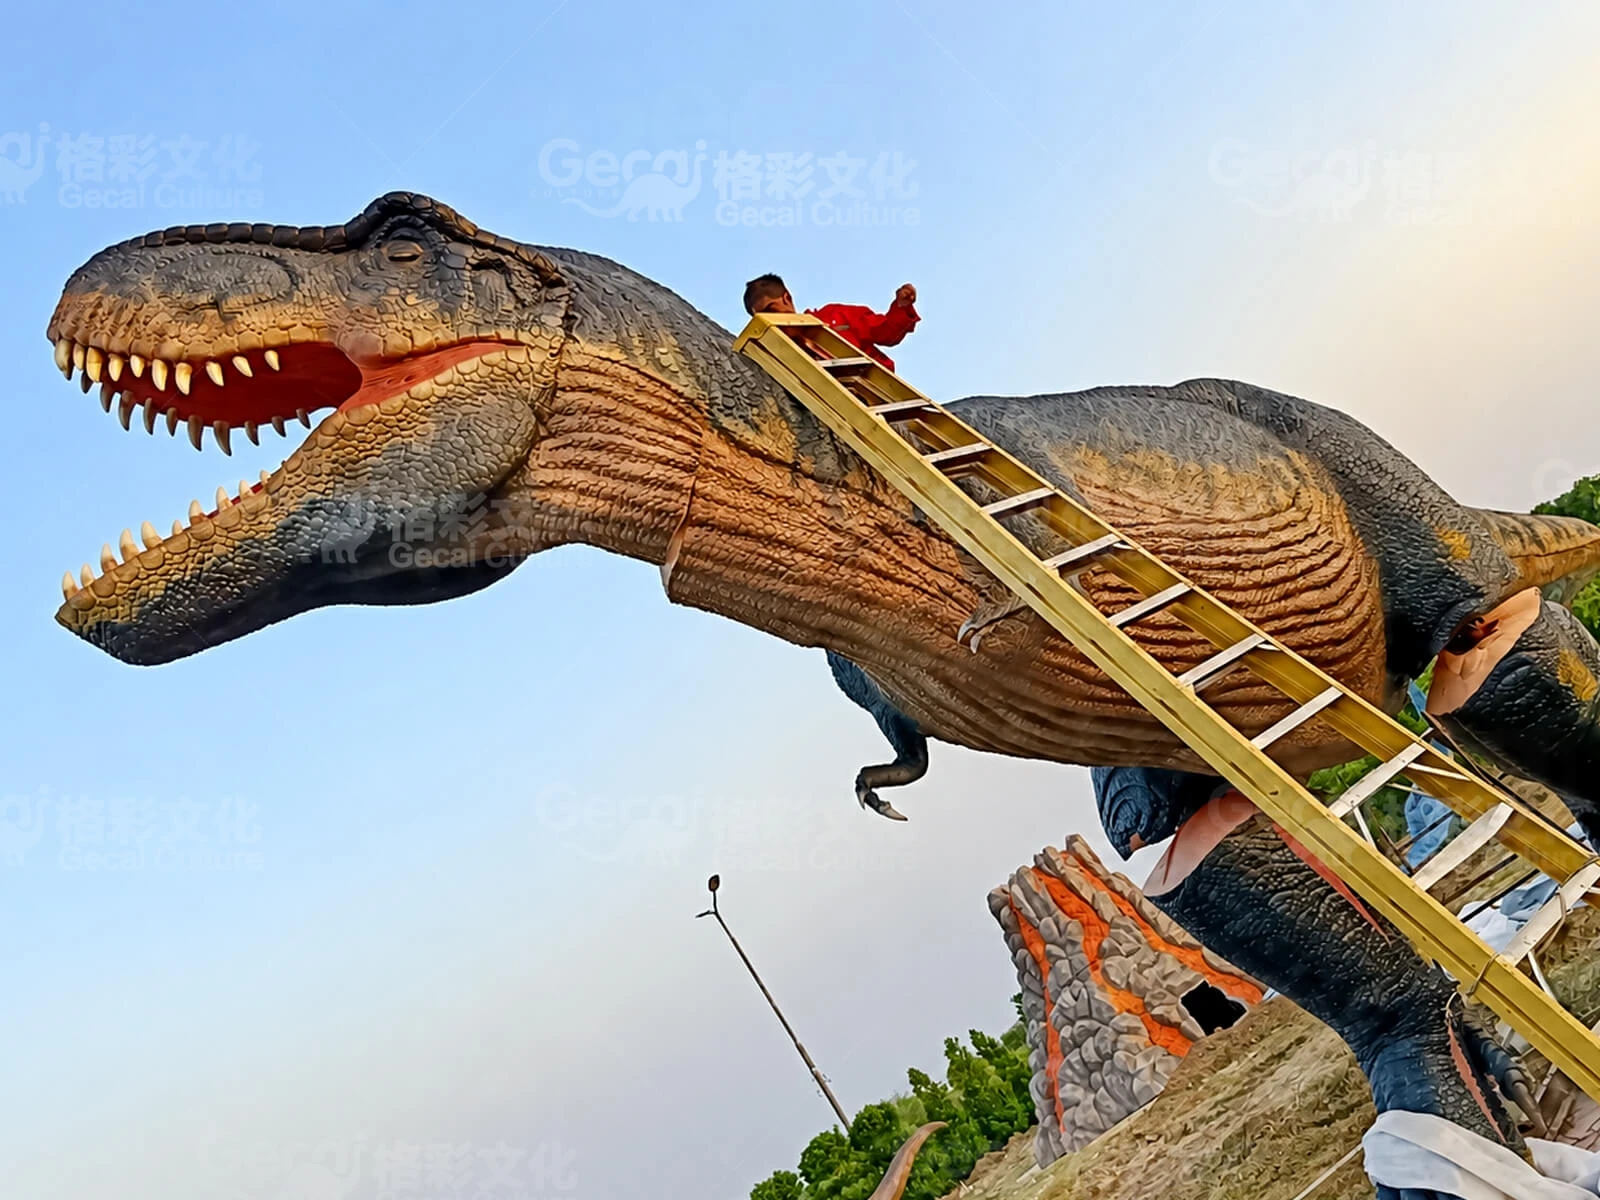
Animatronic dinosaur installation follows four main stages: site preparation, mechanical assembly, internal cable connection and final testing.
For separated models, the internal power and control cables—especially those inside the torso and neck—must be connected during structural assembly. Technicians should verify the cable routing before restoring the foam and skin. The main power should only be connected after the dinosaur is securely fixed and fully inspected.
For an installation plan, send Gecai Culture the dinosaur model, size, venue photos, ground conditions, available power supply, destination and expected installation date.
Tags: